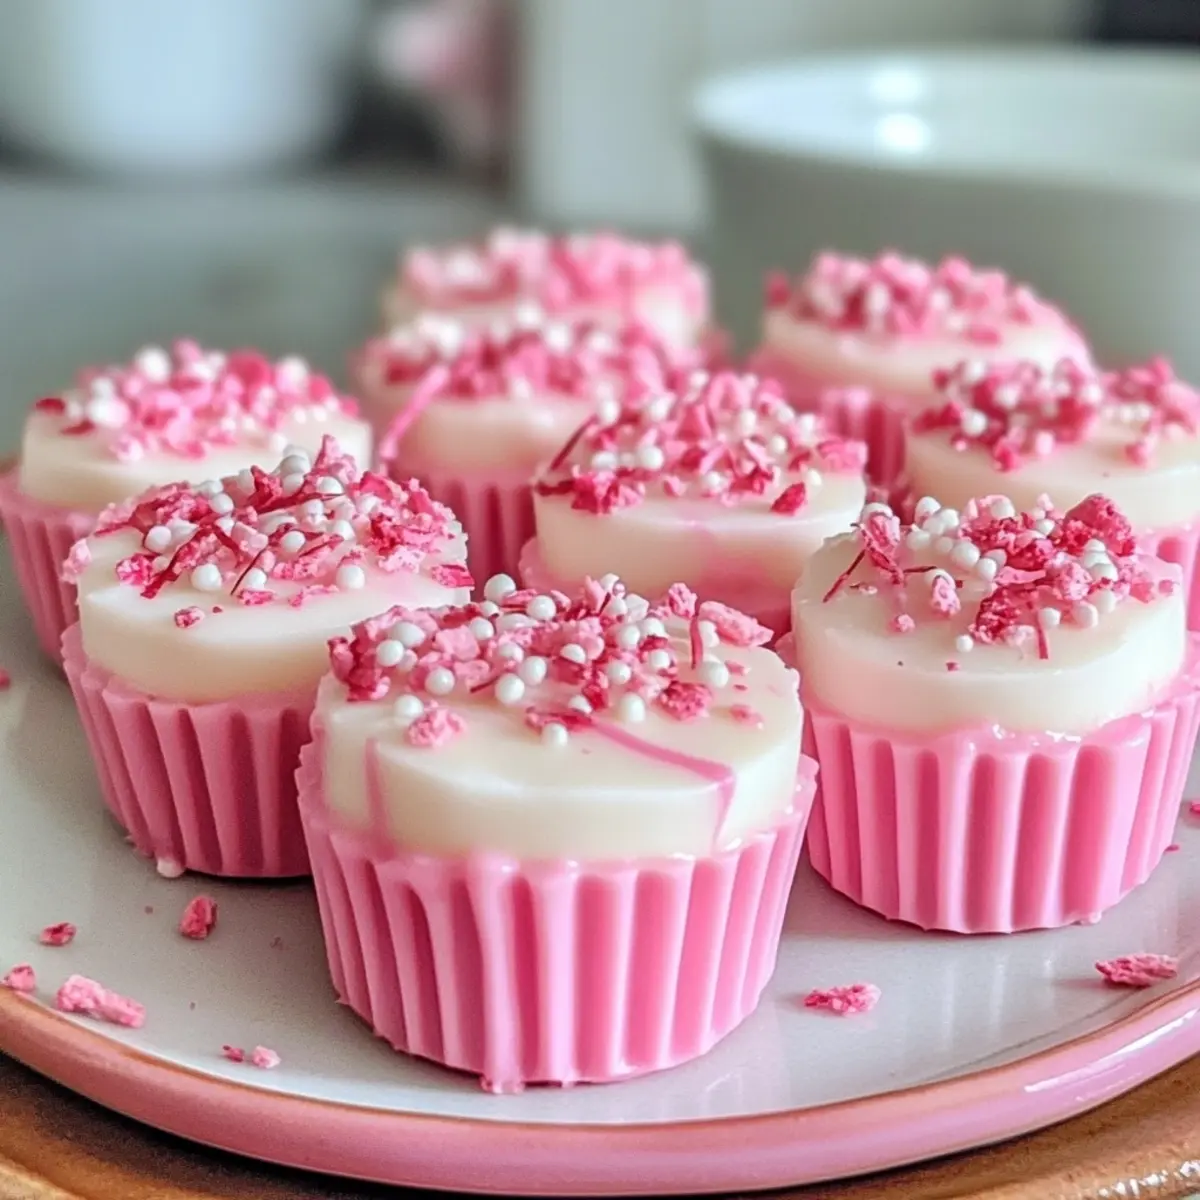
There’s something truly enchanting about the first bite of a No-Bake Pink Velvet Cheesecake Bite. Picture a creamy, velvety texture that simply melts in your mouth, bringing a wave of sweetness that dances on your palate. The vibrant pink hue not only makes these bites visually stunning but also adds a whimsical touch, perfect for any celebration—from birthdays to casual get-togethers.
When I first attempted this recipe, I was amazed at how effortlessly it all came together without the need for an oven. These bites are not just a treat; they’re a delightful way to satisfy your sweet tooth while skipping the fuss of baking. Whether you’re cooking for a crowd or treating yourself to an indulgent snack, these cheesecake bites are a surefire crowd-pleaser. Allow your creativity to shine as you customize flavors or add toppings—who knew a no-bake dessert could be so versatile? Dive into this simple yet scrumptious recipe that promises to elevate any occasion!

Why You’ll Love No-Bake Pink Velvet Cheesecake Bites
Simplicity at Its Best: You’ll love how easy these bites are to whip up, no baking required!
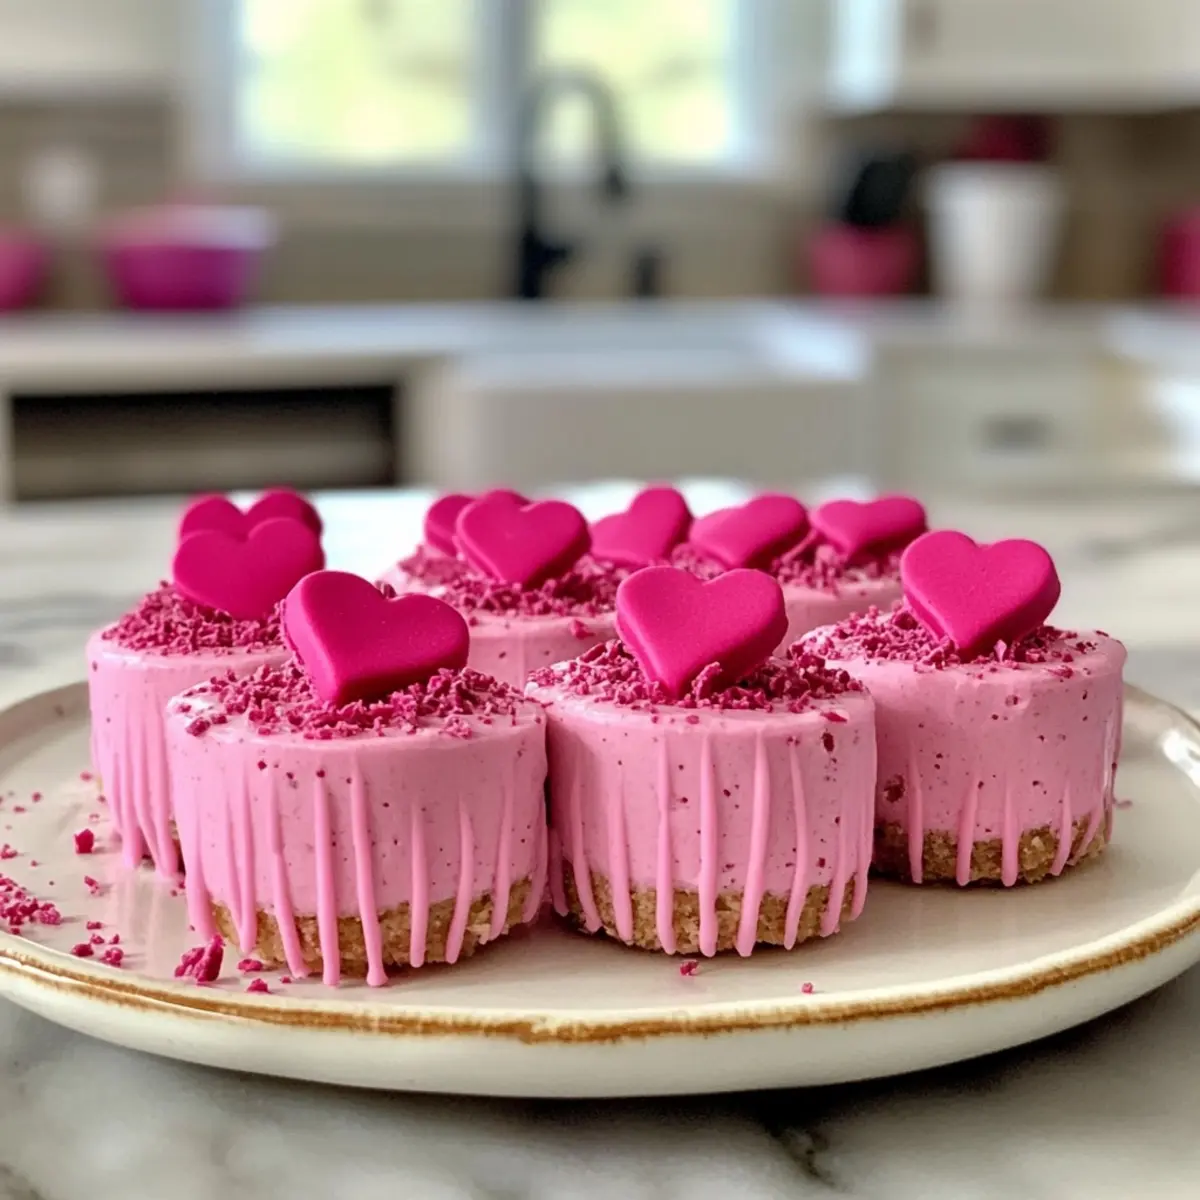
Vibrant Appearance: The charming pink hue is bound to impress guests and make any gathering feel special.
Endless Customization: Get creative by adding your favorite flavors or toppings to personalize them as you wish.
No Guilt Indulgence: Rich in creamy goodness, they satisfy your sweet cravings without the heaviness of traditional desserts.
Perfect for All Occasions: Whether it’s a birthday celebration or a cozy night in, these bites make for the perfect dessert—always a hit!
For a seasonal treat, you might also enjoy making Pumpkin Cheesecake Bars that capture the essence of fall flavors!
No-Bake Pink Velvet Cheesecake Bites Ingredients
For the Filling
• Cream Cheese – Provides a rich, creamy base; consider using low-fat cream cheese for a lighter option.
• Sugar – Sweetens the filling; substitute with a sugar alternative like stevia for a lower-calorie No-Bake Pink Velvet Cheesecake Bites.
• Vanilla Extract – Adds depth of flavor; try almond extract for a delightful nutty twist.
• Food Coloring (Pink) – Provides the signature pink hue; adjust the amount to achieve your desired color intensity.
For the Crust
• Graham Cracker Crumbs – Forms the base for the bites; gluten-free graham crackers are perfect for a gluten-free option.
• Butter – Binds the crust ingredients together; use coconut oil for a dairy-free alternative.
Optional Topping
• Whipped Cream – Enhances creaminess; use coconut whipped cream for a vegan variation.
How to Make No-Bake Pink Velvet Cheesecake Bites
- Prepare Crust: In a mixing bowl, combine graham cracker crumbs with melted butter. Use your hands to press the mixture into a lined tray or dish to create a firm crust base—about 1/4 inch thick works wonders!
- Blend Filling: In another bowl, beat the softened cream cheese, sugar, and vanilla extract together until smooth and creamy. Add a few drops of food coloring to achieve that delightful pink hue, mixing until evenly distributed.
- Combine & Chill: Pour the luscious cream cheese mixture over the prepared crust, making sure to spread it out evenly. Cover and refrigerate for at least 4 hours, or until the bites are set and simply irresistible.
- Cut & Serve: Once firmly set, cut the dessert into bite-sized squares using a sharp knife. Serve chilled, and for a special touch, top with whipped cream or a sprinkle of crushed berries.
Optional: Consider drizzling with chocolate sauce for an extra indulgent treatment!
Exact quantities are listed in the recipe card below.
Expert Tips for No-Bake Pink Velvet Cheesecake Bites
- Soften Cream Cheese: Ensure cream cheese is at room temperature for easy blending and a silky, smooth texture in your bites.
- Mind Mixing Time: Avoid over-mixing the filling to prevent incorporating too much air, which can lead to cracks in your No-Bake Pink Velvet Cheesecake Bites.
- Chill Properly: Allow at least 4 hours in the refrigerator for the bites to set properly; this makes cutting cleaner and enhances the flavor.
- Crust Considerations: Press the crust mixture firmly into the dish; a well-packed crust holds the bites together better for serving.
- Color Intensity: Adjust the amount of food coloring slowly to achieve your preferred pink hue, ensuring not to overpower the delicate flavor with too much dye.
What to Serve with No-Bake Pink Velvet Cheesecake Bites?
Looking to create a memorable meal that perfectly complements these delightful cheesecake bites?
- Fresh Berries: The sweetness and tartness of strawberries, raspberries, or blueberries provide a refreshing contrast, enhancing each creamy bite.
- Chocolate Sauce: A drizzle of rich chocolate sauce adds a luxurious touch, intensifying the sweetness with a touch of decadence.
- Pistachio Crumble: This nutty topping adds a delightful crunch that balances the soft texture of cheesecake bites and brings a pop of color.
- Mint Tea: A soothing cup of mint tea offers a refreshing palate cleanser that pairs beautifully with the rich flavors of dessert.
- Light Fruit Salad: Combine seasonal fruits for a bright and refreshing side, lightening the meal and providing vibrant flavors that contrast the cheesecake’s richness.
- Crushed Graham Crackers: Serve these on the side for an extra crunch that ties back to the dessert’s crust—great for dipping!
- Sparkling Lemonade: A bubbly, zesty drink can amplify the fun of serving cheesecake bites at your gathering, adding a cheerful touch.
- Whipped Cream Topping: A light dollop on the cheesecake bites elevates their charm and adds creamy goodness to each serving.
Dive into these delightful pairings to make your dessert experience unforgettable!
No-Bake Pink Velvet Cheesecake Bites Variations
Feel free to get creative and make these delightful bites your own with some fun variations!
- Citrus Twist: Add lemon or orange zest for a refreshing zing that brightens the flavor. The citrus notes perfectly complement the creamy filling.
- Nutty Crust: Swap graham cracker crumbs for crushed almonds or walnuts for a nutty, crunchy base that adds texture to every bite.
- Dairy-Free: Use vegan cream cheese and coconut oil for a completely dairy-free version, allowing everyone to indulge guilt-free.
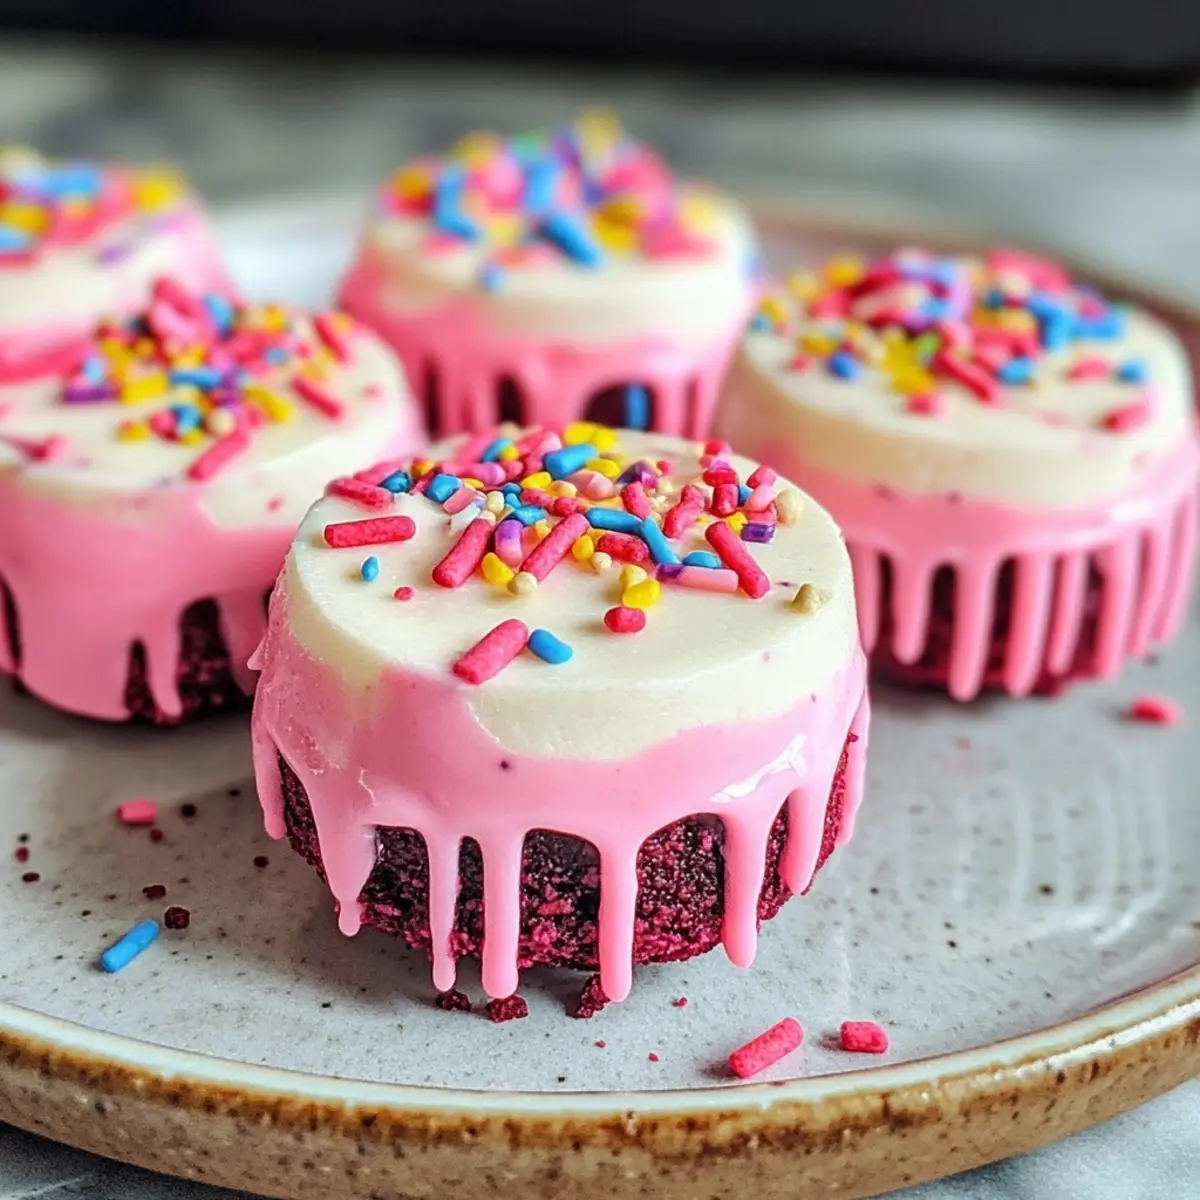
- Chocolate Delight: Mix in chocolate chips or drizzle melted chocolate on top for a rich and decadent treat that chocolate lovers will adore.
- Minty Fresh: Incorporate a few drops of peppermint extract into the filling for a cool, minty twist—a delightful surprise for your taste buds!
- Berry Burst: Stir in crushed freeze-dried strawberries or raspberries for a fruity explosion and extra color that makes this dessert even more appealing.
- Caramel Swirl: Add a swirl of caramel sauce to the cream cheese layer before chilling for a luscious sweet undertone—who can resist that?
- Extra Layer: Create two layers by adding a flavored layer (like vanilla or chocolate) between the pink cheesecake layers for a beautiful presentation and complex taste.
Each of these variations adds a personal touch, ensuring your No-Bake Pink Velvet Cheesecake Bites are uniquely yours!
How to Store and Freeze No-Bake Pink Velvet Cheesecake Bites
Fridge: Store leftovers in an airtight container in the refrigerator for up to 1 week, ensuring they remain fresh and creamy.
Freezer: For long-term storage, freeze the cheesecake bites in a single layer on a baking sheet, then transfer them to a freezer-safe container. They can last up to 2 months.
Thawing: To enjoy frozen No-Bake Pink Velvet Cheesecake Bites, simply thaw them in the fridge overnight before serving for the best texture.
Reheating: These bites are best enjoyed chilled; avoid reheating to maintain their delightful creamy consistency.
No-Bake Pink Velvet Cheesecake Bites Recipe FAQs
How do I choose the best cream cheese for my cheesecake bites?
Absolutely! For the creamiest texture, I recommend using full-fat cream cheese that’s at room temperature. This makes blending super easy and helps avoid lumps. If you’re looking for a lighter version, low-fat cream cheese works well, but it may alter the texture slightly.
What is the best way to store No-Bake Pink Velvet Cheesecake Bites?
You’ll want to keep these delightful bites fresh! Store them in an airtight container in the refrigerator for up to one week. Just make sure they are well-covered to maintain their creamy consistency and flavor.
Can I freeze the No-Bake Pink Velvet Cheesecake Bites? How do I do it?
Yes, you can! It’s super simple. First, lay the cheesecake bites on a baking sheet in a single layer and freeze them for about 1-2 hours until solid. Then, transfer them to a freezer-safe container or zip-top bag, layers separated by parchment paper. They can be frozen for up to 2 months! When you’re ready to enjoy, just thaw them overnight in the fridge.
What should I do if my filling seems too runny?
Very! If you find your filling a bit too runny, it may be due to under-mixed cream cheese or excess moisture from other ingredients. To fix it, try mixing in a tablespoon or two of powdered sugar or an additional 2 ounces of softened cream cheese to thicken the mixture. Chill it a bit longer to set if needed.
Are No-Bake Pink Velvet Cheesecake Bites suitable for people with allergies?
Sure! This recipe can easily be adapted to cater to various dietary needs. If someone has a dairy allergy, opt for vegan cream cheese and coconut whipped cream. For gluten-free options, use gluten-free graham crackers in the crust. However, always double-check ingredient labels to ensure everything meets individual dietary requirements.
How can I enhance the flavor of my cheesecake bites?
Absolutely! You can add a zest of lemon or orange to the cream cheese filling for a refreshing twist. Alternatively, consider incorporating a teaspoon of almond extract for a nutty profile or even a swirl of raspberry puree for color and flavor excitement. The more the merrier when it comes to personalization!
Irresistibly Easy No-Bake Pink Velvet Cheesecake Bites
Ingredients
Equipment
Method
- Prepare Crust: In a mixing bowl, combine graham cracker crumbs with melted butter. Press mixture into a lined tray or dish to create a firm crust base—about 1/4 inch thick works wonders!
- Blend Filling: In another bowl, beat the softened cream cheese, sugar, and vanilla extract together until smooth and creamy. Add drops of food coloring to achieve that delightful pink hue.
- Combine & Chill: Pour the cream cheese mixture over the prepared crust, spreading it out evenly. Cover and refrigerate for at least 4 hours, or until set.
- Cut & Serve: Once set, cut into bite-sized squares. Serve chilled, topping with whipped cream or crushed berries.
Nutrition
Notes
Tried this recipe?
Let us know how it was!


Leave a Comment