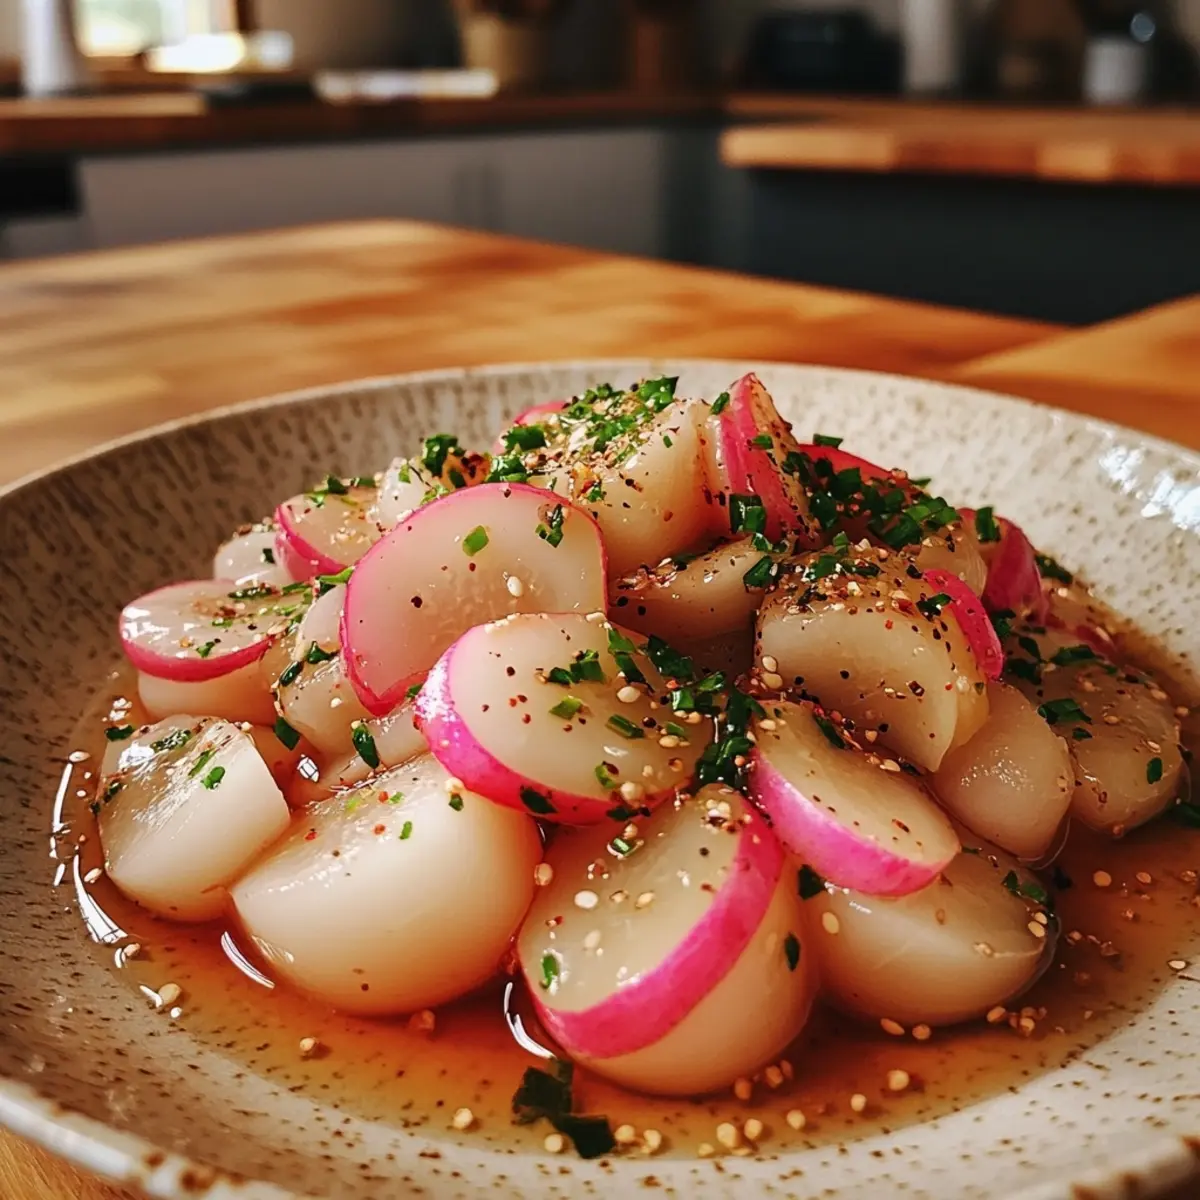
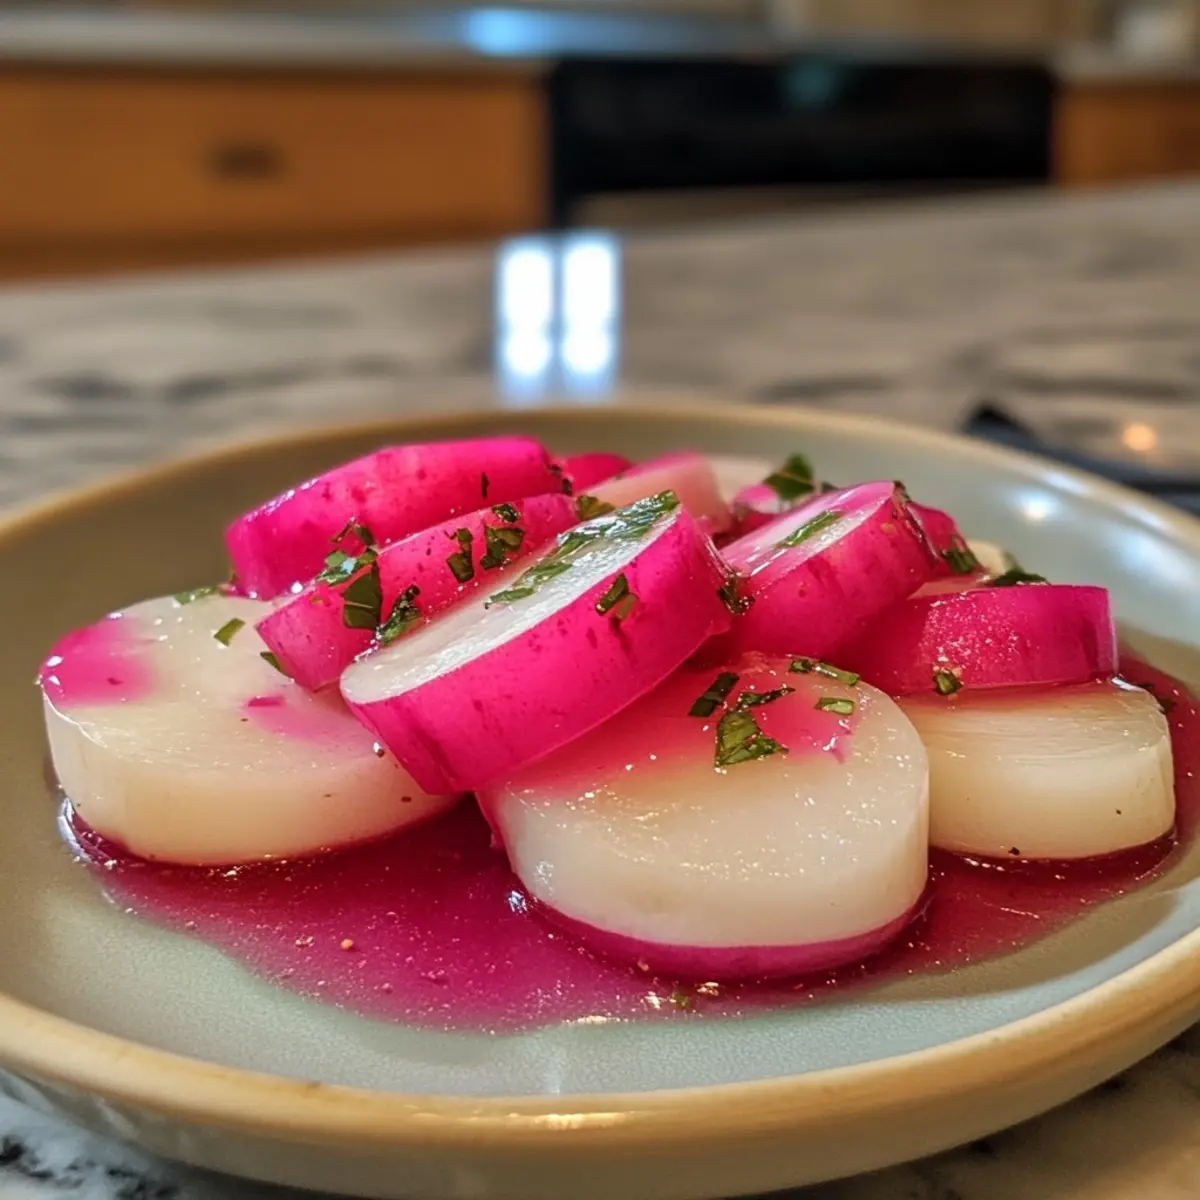
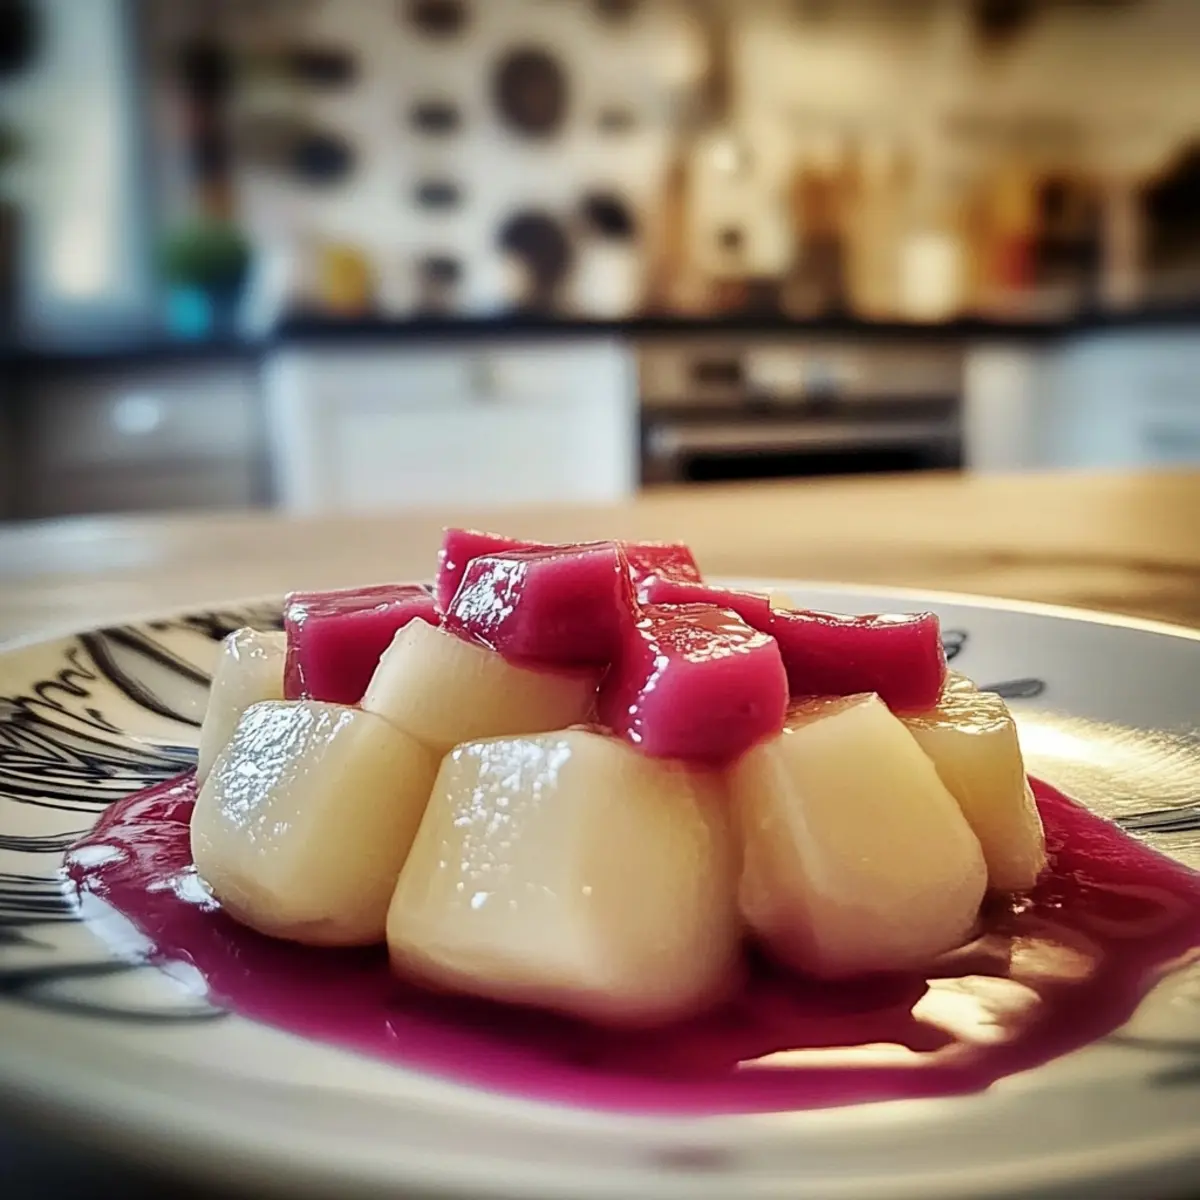
There’s something undeniably satisfying about transforming simple ingredients into something both beautiful and delicious. As I prepped this recipe for pickled turnips, the bright pink hue of the beets mixing with the crisp whites of the turnips reminded me of a burst of color. This isn’t just a side dish; it’s an artful addition to salads, sandwiches, or as a crunchy snack on its own.
What I love most is that this homemade pickled turnip recipe can be whipped up in just 10 minutes, yet it delivers a tangy, sweet explosion of flavor that elevates any meal. Plus, it’s vegan, gluten-free, and offers a low-sugar option if you choose to sub in coconut sugar. Whether you’re a home chef looking to spruce up weeknight dinners or someone who’s ready to say goodbye to fast food, these vibrant pickled turnips are the answer to your cravings for fresh and healthy home-cooked tastes. Join me in diving into this quick and rewarding recipe!

Why are Pickled Turnips a Must-Try?
Vibrant Color: The stunning pink hue from the beets makes these turnips an eye-catching addition to any plate.
Quick Prep: In just 10 minutes, you can create a deliciously tangy snack or condiment.
Health Benefits: Packed with fiber and vitamin C, these pickles are lower in calories compared to store-bought options.
Versatile Pairing: They complement everything from salads to sandwiches, bringing a crunchy zest to any dish.
Customizable: Feel free to swap in other vegetables like carrots or radishes for a twist; the possibilities are endless!
Pickled Turnips Ingredients
• Experience the magic of homemade pickled turnips with these simple ingredients!
For the Brine
- Water – Serves as the base for the flavorful brine, hydrating the vegetables.
- White Vinegar – Provides the essential acidity for pickling; can be swapped with apple cider vinegar for a different touch.
- Kosher Salt – Enhances the overall flavor and is vital for preserving the pickled turnips.
- Granulated Sugar – Balances the brine’s acidity; substitute with coconut sugar for a low-sugar option.
For the Vegetables
- Garlic (1 large clove, smashed) – Infuses depth into the flavor; can be replaced with garlic powder if needed.
- Turnips (1 pound, peeled and cut into 1/2 inch thick batons) – The main ingredient that delivers crunch; feel free to replace with similar firm veggies like carrots or radishes.
- Beet (1 small, peeled and diced) – Adds vibrant color and a hint of sweetness; optional but enhances visual appeal.
Elevate your meals with this vibrant pickled turnips recipe—it’s time to squeeze some color into your culinary creations!
How to Make Pickled Turnips
- Mix the Brine: In a large jar, combine water, white vinegar, kosher salt, and granulated sugar. Stir well until everything is fully dissolved, creating a flavorful brine base.
- Add Flavorings: Toss in the smashed garlic, along with the cut turnips and diced beet. Ensure all the vegetables are submerged in the brine for optimal pickling.
- Seal and Store: Tightly seal the jar and let it sit at room temperature in a cool, dark place for about 5 days. This allows the flavors to meld beautifully.
- Refrigerate: After pickling, place the jar in the refrigerator. Enjoy your vibrant pickled turnips within one month for the best taste and crunch.
Optional: Serve these tangy pickled turnips with a sprinkle of sesame seeds for added flair.
Exact quantities are listed in the recipe card below.
Helpful Tricks for Pickled Turnips
- Submergence is Key: Ensure all vegetables are completely submerged in the brine to avoid spoilage; weight them down if needed.
- Vinegar Choice: Experiment with different vinegars like apple cider for a unique flavor twist in your pickled turnips, but remember, the acidity is essential.
- Spice It Up: Add spices like cumin seeds or mustard seeds to the brine for an extra layer of flavor; avoid common mistakes by not overloading with too many spices at once.
- Storage Matters: Use clean, sterilized mason jars to keep the pickled turnips fresh and free from contamination; this maintains crispness and flavor.
- Taste Test Before Refrigeration: After 5 days, do a quick taste test. If they’re not tangy enough, let them sit for another day in the brine before refrigerating.
What to Serve with Pickled Turnips?
Elevate your meal with these vibrant, tangy pickled turnips that add a delightful crunch and flavor to any dish.
- Fresh Garden Salad: A mix of greens and crunchy veggies complements the vibrant acidity of pickled turnips beautifully, creating a refreshing bite.
- Savory Sandwiches: Layering pickled turnips into sandwiches adds a tangy kick, enhancing everything from classic turkey to grilled vegetable stacks.
- Rice Bowls: The crunchy texture and bold flavor of pickled turnips contrast nicely with creamy sauces and warm grains, making every spoonful exciting.
- Mediterranean Platter: Serve pickled turnips alongside hummus, olives, and pita for a colorful appetizer that never fails to impress guests.
- Grilled Fish: Their zesty bite pairs wonderfully with grilled fish, cutting through the richness while adding a delightful crunch.
- Tacos: Top your tacos with pickled turnips for an unexpected, yet delicious acidity that balances out the savory fillings.
- Spicy Noodles: Incorporate these tangy pickles into noodle dishes for a burst of flavor that refreshes and enlivens your palate.
- Light Beverages: Pair with a sprightly sparkling water or a refreshing cucumber-infused cocktail for a delightful summer drink combo.
Storage Tips for Pickled Turnips
- Fridge: Keep your homemade pickled turnips refrigerated in an airtight jar for up to one month to maintain their freshness and crunch.
- Room Temperature: During the pickling process, allow the sealed jar to sit at room temperature in a cool, dark place for about 5 days to develop optimal flavor.
- Freezer: For longer storage, you can freeze pickled turnips, but keep in mind that the texture may soften; enjoy them within 3-6 months for best taste.
- Reheating: If using pickled turnips as a condiment, there’s no need to reheat; serve them chilled straight from the fridge for maximum flavor impact.
Pickled Turnips Variations
Feel free to get creative and personalize this recipe to suit your taste preferences!
- Asparagus: Swap turnips for blanched asparagus spears for a fresh, crunchy bite.
- Cauliflower: Use cauliflower florets instead of turnips to add a unique texture and flavor twist.
- Radishes: Substitute thinly sliced radishes for a vibrant and peppery alternative with a satisfying crunch.
- Coconut Sugar: For a lower glycemic option, replace granulated sugar with coconut sugar, imparting a slight caramel note to the brine.
- Extra Heat: Add a pinch of red pepper flakes or sliced jalapeños to the brine for a delightful kick that’ll excite your taste buds.
- Herb Infusion: Toss in fresh dill or thyme before sealing the jar for an aromatic herbaceous note that complements the brine beautifully.
Transforming these pickled turnips with various veggies and spices is a great way to keep each batch exciting, so why not experiment to find your favorite combination?
Pickled Turnips Recipe FAQs
How do I select the best turnips for pickling?
Absolutely! Look for firm, smooth turnips without any dark spots or blemishes. The more vibrant the color, the fresher they typically are. Smaller turnips are often more flavorful and tender, making them ideal for this pickled turnips recipe.
How should I store my pickled turnips after making them?
I recommend keeping your homemade pickled turnips in an airtight jar in the refrigerator for up to one month. This will ensure they stay fresh and crunchy. If left at room temperature for too long, they could spoil, so make sure to refrigerate once the pickling process is complete!
Can I freeze pickled turnips?
While it is possible to freeze pickled turnips for longer preservation, they may lose some of their crunchiness when thawed. To freeze them successfully, place the cooled pickled turnips in a freezer-safe bag or container, ensuring all air is removed. They can be stored in the freezer for up to 3-6 months. When ready to use, thaw them in the refrigerator overnight.
What should I do if my pickled turnips aren’t tasting tangy enough?
Very! If you find that your turnips aren’t tangy enough after the initial pickling period, just let them sit a little longer in the brine. Tasting the brine after 5 days is key—if it doesn’t meet your palate, give them an extra day at room temperature before refrigerating. You can also add a little more vinegar to the brine mix and let them sit a bit longer to enhance the flavor.
Are pickled turnips safe for my pets or people with allergies?
Pickled turnips can be enjoyed safely by most people, however, be aware that the brine contains vinegar and salt, which could be harmful in larger quantities. It’s best not to share these with pets or anyone sensitive to vinegar or high sodium foods. Always check with your doctor if there are concerns about allergies.
Tangy Pickled Turnips: Your New Favorite Healthy Snack
Ingredients
Equipment
Method
- In a large jar, combine water, white vinegar, kosher salt, and granulated sugar. Stir well until dissolved.
- Add the smashed garlic, cut turnips, and diced beet, making sure they are submerged in the brine.
- Tightly seal the jar and let it sit at room temperature for about 5 days.
- Refrigerate the jar after pickling. Enjoy within one month.
Nutrition
Notes
Tried this recipe?
Let us know how it was!
Leave a Comment